Despite a common belief, furnace installation is complicated. You can’t simply plug a furnace in and expect it to work flawlessly. Unless properly installed, a heating unit will waste energy, provide less comfort, and potentially be a safety hazard. It may also require frequent repairs and early replacement. Here’s an overview of how a professional approaches furnace installation and replacement to avoid such issues.
Prepare for Furnace Installation
The installation process starts before you even choose a new furnace. The following steps help pick a unit that meets your home heating needs:
- Load Calculation: First, calculate the square footage of your home, which is factored into a load calculation. Variables such as climate, the number and size of windows, ceiling heights, and insulation quality must also be considered. The heating installation professionals at Monarch Home Services use industry software to determine how powerful a furnace you need.
- Physical Measurements: The area where the furnace will be installed must be measured. The unit must fit properly. Furnaces aren’t all the same physical size. Space constraints can cause issues with airflow and make it hard to access the unit for service and maintenance.
- Compatibility with Existing Equipment: If you’ve previously installed an air conditioner, knowing the brand, type, and other specifics helps in choosing compatible heating equipment. This is important because the blower motor will move air for both. Installing incompatible equipment can strain other components and cause the system to run inefficiently.
Site Preparation
Several steps must be taken before the furnace unit can be installed:
- Clear the Area: Remove any obstacles that can block airflow or be in the installers’ way. Also, make sure there’s access to the gas line and electrical outlet. If there are combustible materials that can ignite due to heat or contact with exhaust gases, remove them from the area. The furnace should have at least three feet of clearance on all sides.
- Install a Dedicated Circuit: If there isn’t already a dedicated circuit for your heater, have one installed by an electrician. This ensures the circuit breaker won’t be overloaded and your furnace will work uninterrupted. A licensed heating technician is familiar with building codes and manufacturer guidelines to ensure your electrical system is properly set up.
- Install the Gas Line: Gas line installation requires cutting holes in the right places, selecting the correct pipe fittings, and ensuring there’s enough space to avoid clogs and corrosion. Using the correct tools ensures connections are secure but not too tight. A contractor properly installs a gas supply line that’s 100 to 200 feet and can supply up to 7 million British Thermal Units (BTUs) of energy per hour. Space constraints can be addressed by installing a flexible gas pipe between the meter and the gas control valve.
- Ductwork Evaluation: Your new heater won’t run efficiently if ductwork is improperly sized, damaged, or leaking. An experienced furnace installation professional checks your ductwork to ensure proper airflow. It can be sealed if any air leaks are identified. They also perform repairs or duct cleaning so your furnace runs smoothly from the start.
- Venting and Drainage Evaluation: Before installing the furnace, the technician checks the flue pipe and chimney. They also verify the vent piping complies with current laws. Additional vents are needed if humidifiers and other components will be added later. Proper venting ensures there are no problems with fumes or moisture in your home. A drain line for condensation is also installed.
- Insulation Check: The installer should check your attic and wall insulation to ensure heat can’t escape and that your home is well-sealed. They can caulk around windows and doors if necessary and install weatherstripping. This helps your new furnace be energy efficient.
Install the Furnace
After preparing the area and selecting the right furnace (the latest units have been improved with sealed combustion, electronic ignition systems, and 80% to 98% annual fuel utilization efficiency (AFUE) ratings), the unit is installed. The technician first positions the furnace, making sure it’s on a solid surface. They also verify the location is suitable and the unit won’t be damaged by vibration from nearby appliances.
The lead installer discusses the equipment they’re providing. Ask them to verify the model number if you’re uncertain. To protect your home, they place floor coverings over areas of travel and complete a few safety checks before starting the installation. This includes turning off circuit breakers that control power to the area, turning off gas and fuel lines, and ensuring there are no hazardous materials nearby.
The furnace installation team then proceeds with the following steps:
- Remove Old Equipment: The gas line, electrical wiring, venting, and ductwork are disconnected from the main unit. The old furnace is then safely removed and discarded, and the technician proceeds with cleaning under the unit, around the ductwork entry points, and the evaporator coil.
- Install the New Unit: The new furnace is placed on a rubber pad or other base to ensure it’s level and separated from the floor. It’s then connected to the gas line, ductwork, plenum, and flue line. The technician installs the wiring per the manufacturer’s instructions. Plenum and air duct modifications are common during this step; for example, installing a transition between the plenum and ductwork can reduce air leakage. Sheet metal tools help cut, bend, or fold metal components to improve airflow.
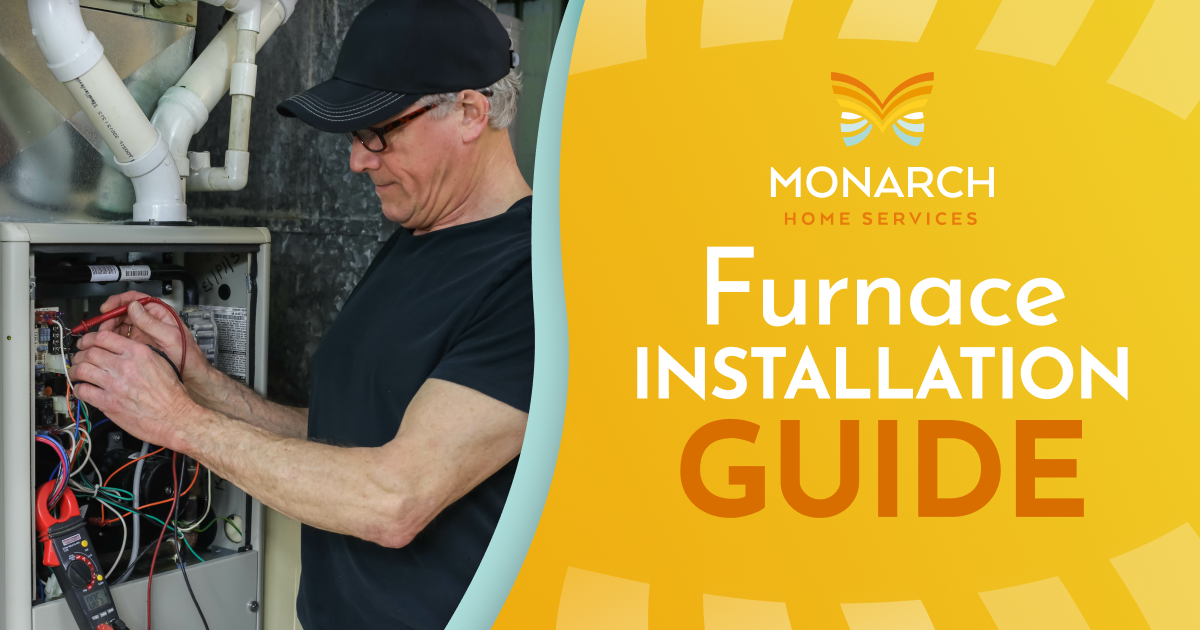
- Test the Equipment: The installation team not only turns the system on and off but also tests it while running calculations to ensure it’s running efficiently. Temperature rise, cubic feet per minute of airflow, and air pressure are some variables they consider. Each parameter measured is compared to safety codes and the manufacturer’s specifications.
After the furnace installation is completed, the team cleans up the work site and reviews the process with you. They explain what was installed, provide a walkthrough of the equipment, and describe steps to care for it, such as replacing the filter. Also, they show you how to use the thermostat and answer any questions you might have.
Call Monarch Home Services
Our NATE- and EPA-certified furnace installation contractors are fully licensed and insured. Managing the entire installation process from start to finish, they properly size, install, and test your new furnace so it provides efficient heating and lasts a long time. We also install heat pumps, mini-split, ductless, and other types of heating systems. To learn more or schedule heating installation or replacement in your Central California home (and receive a free quote), call (661) 215-6679.